Below we are providing you an illustrated guide on how to properly install an aeration system. Obviously this is a basic overview and is not designed to be a comprehensive overview. As you can see installing our systems is not overly complex and can be easily installed by the average do-it-yourselfer. Otherwise if you do not have the time or desire to install an aeration system yourself, many of our customers have had lots of luck hiring independent landscapers, electricians and plumbers to install these units for a reasonable price.
Step 1 - Unpack your aeration system and if you see that any parts are pieces are missing please notify us.
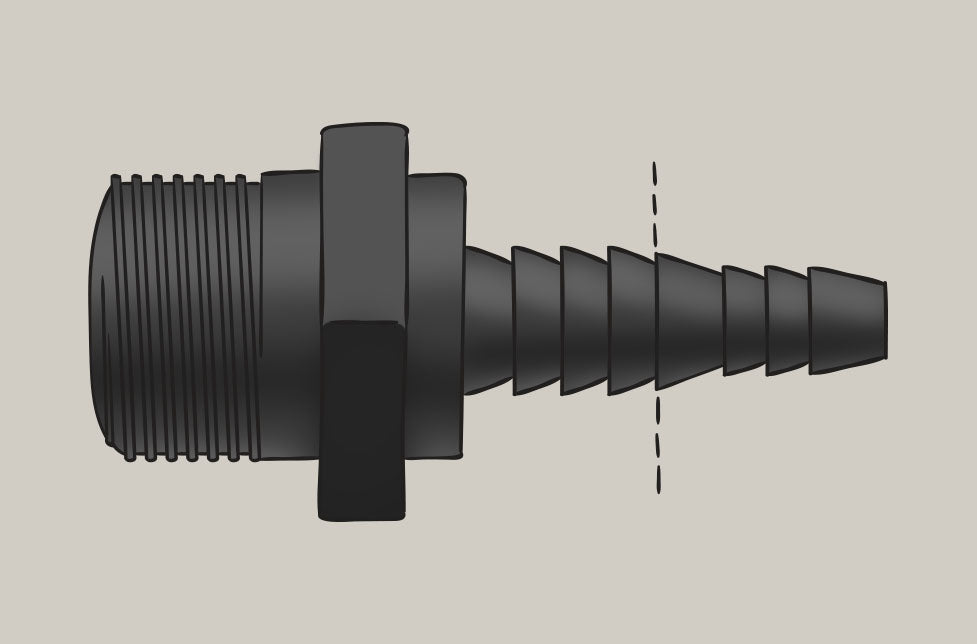
Step 2 - After unpacking you will want to start by assembling the diffuser. Find this barbed check valve and determine if your aerator has 3/8'' or 1/2'' tubing. If you have 3/8'' tubing then you can leave the barb as it is. If you have 1/2'' tubing you can remove the tip of the barb fitting at the line illustrated in this image.
Step 3 - Find one of the included hose clamps and slip it over the barbed check valve fitting pictured above. Then push the tubing tightly on to the barbed fitting and tighten the hose clamp.
Step 4 - Utilizing washers on both sides of the base insert provided bolt and tighten the nut, this clamp will provide strain relief for the tubing.
Step 5 - The base of your diffuser has a special compartment that can be filled with sand or gravel to help weigh down the diffuser on the bottom of the pond, find the cap of this compartment and remove it.
Step 6 - With the cap removed you can now fill the base with sand or gravel. Once the base is full you can replace the cap.
Step 7 - Now you will want to find the round diffuser head with a male pipe fitting and screw it hand tight on to the diffuser base.
Step 8 - Now that your diffuser is assembled and ready, you can now get the tubing or airline and unroll the entire roll.
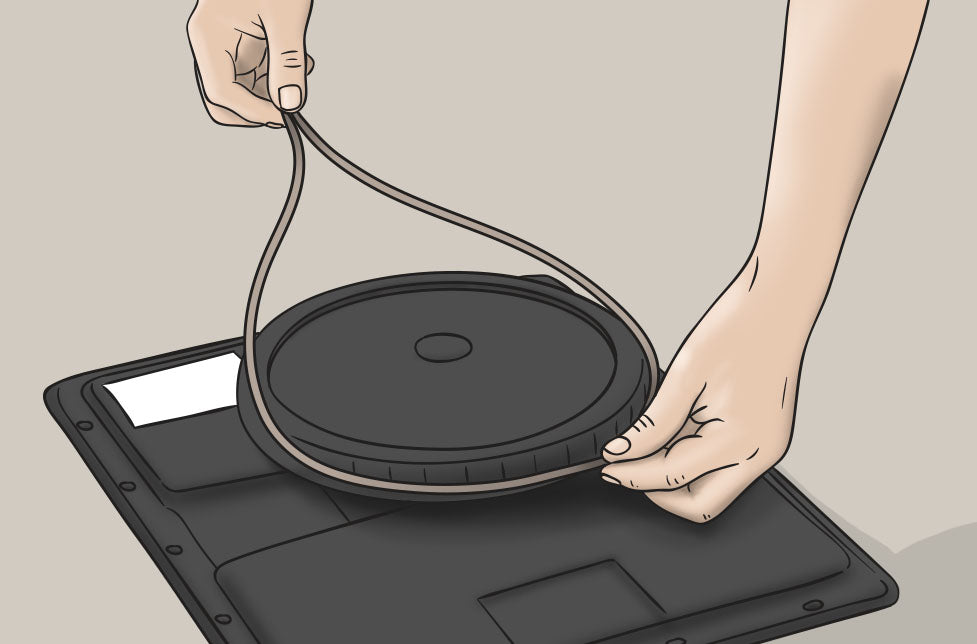
Step 9 - Tie a loop around the diffuser with a nylon rope as shown in the image below, this will assist in lowering the diffuser to the pond bottom in an upright position.
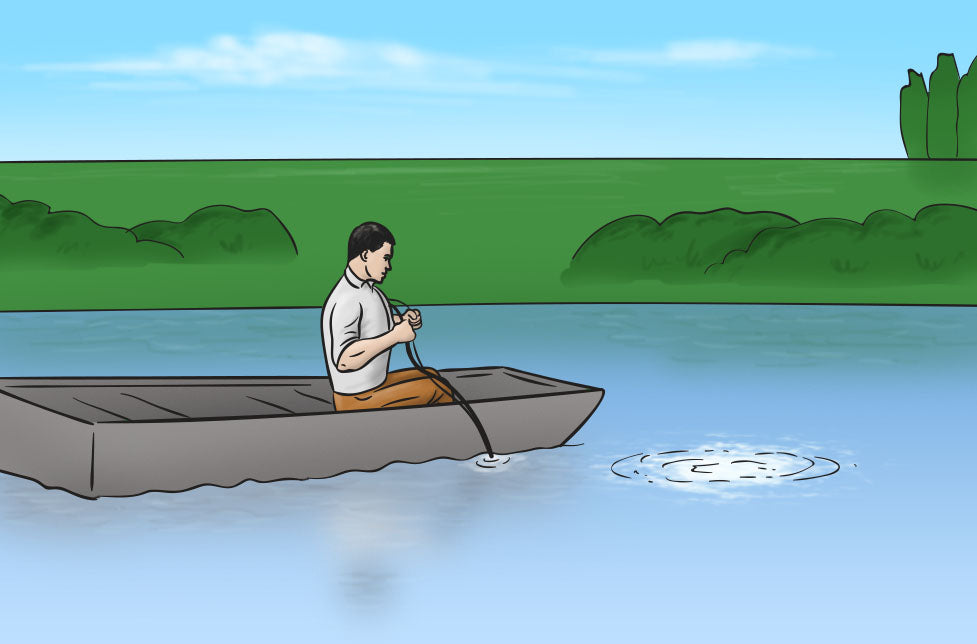
Step 10 - Take the diffuser out into the pond at the desired location, preferably on a boat if you have one, then hold the unit underwater letting the remaining air escape from the base.
Step 11 - Begin to lower the diffuser to the bottom of the pond, be sure to put most of the weight on the nylon rope and not on the tubing.
Step 12 - Once the diffuser is on the bottom of the pond you can release one end of the rope and pull on the other side until the rope is out of the water. (Optional you can leave a rope tied to the diffuser with a duck decoy or something that will float in order to pick up or move the diffuser at a later time because if you ever have to move the diffuser you will not want to pull from the weighted tubing because you could snap the barb fitting)
Step 13 - If your aeration system has more then one diffuser then you will install the valved outlet assembly. This valve system will allow you to control the airflow to each diffuser.
Step 14 - Once the valved outlet is installed you can now connect the other end of the airline to the compressor. The same applies if you have a system with just 1 diffuser.
Step 15 - If you have any tubing exposed over land then you may want to dig a trench and bury it to protect others from tripping over it or to protect from being cut by lawnmower blades.
Step 16 - If you did not purchase the Deluxe version with the included compressor cabinet then you will want to find proper housing or covering for your compressor, the important thing is that the compressor is not directly exposed to rain or snow as this can ruin your unit.
This is the basic instructions on how to properly install a
Pond Aeration Systems, as you can see there is nothing especially difficult. If you ever have any questions or need more information feel free to call and speak with one of our experts at 1-888-775-2402.


